Teams Status Tally Light, Part 2: From Concept to Creation

A 6 min read
The Backstory continued...
In Part 1, I documented the creation of the hardware module, and it's connection to the Raspberry Pi, along with the software running on the Pi. In this part, we'll add some additional features, make a significant hardware revision and finally bring it all together with integration toMicrosoft Teams.
The Hardware Part 2
I was a little frustrated with the cooling fan control that I had added. Sometimes the Pi felt hot, and other times, not so much, since the fan just had direct power from the circuit board, meaning it would run at a fixed speed proportional to the resistor. It occurred to me that I could use all the same code and circuitry to set the fan speed dynamically that I currently use to set the led brightness. I would just need another MOSFET, and since the fan is 12v, just like the LED strips, I would not need another buck converter.
I also saw an opportunity for some good old-fashioned scope creep and thought, why stop at one fan when I could control two? I had an Idea. A fair while ago, feeling frustrated with cruddy 5v USB fans, I decided to put together a nice powerful but quiet fan for colling myself - surprisingly, sitting next to an 18U rack of computer equipment, as I do, can get quite hot. Who knew? So I was in need of a fan and ideally something quiet.
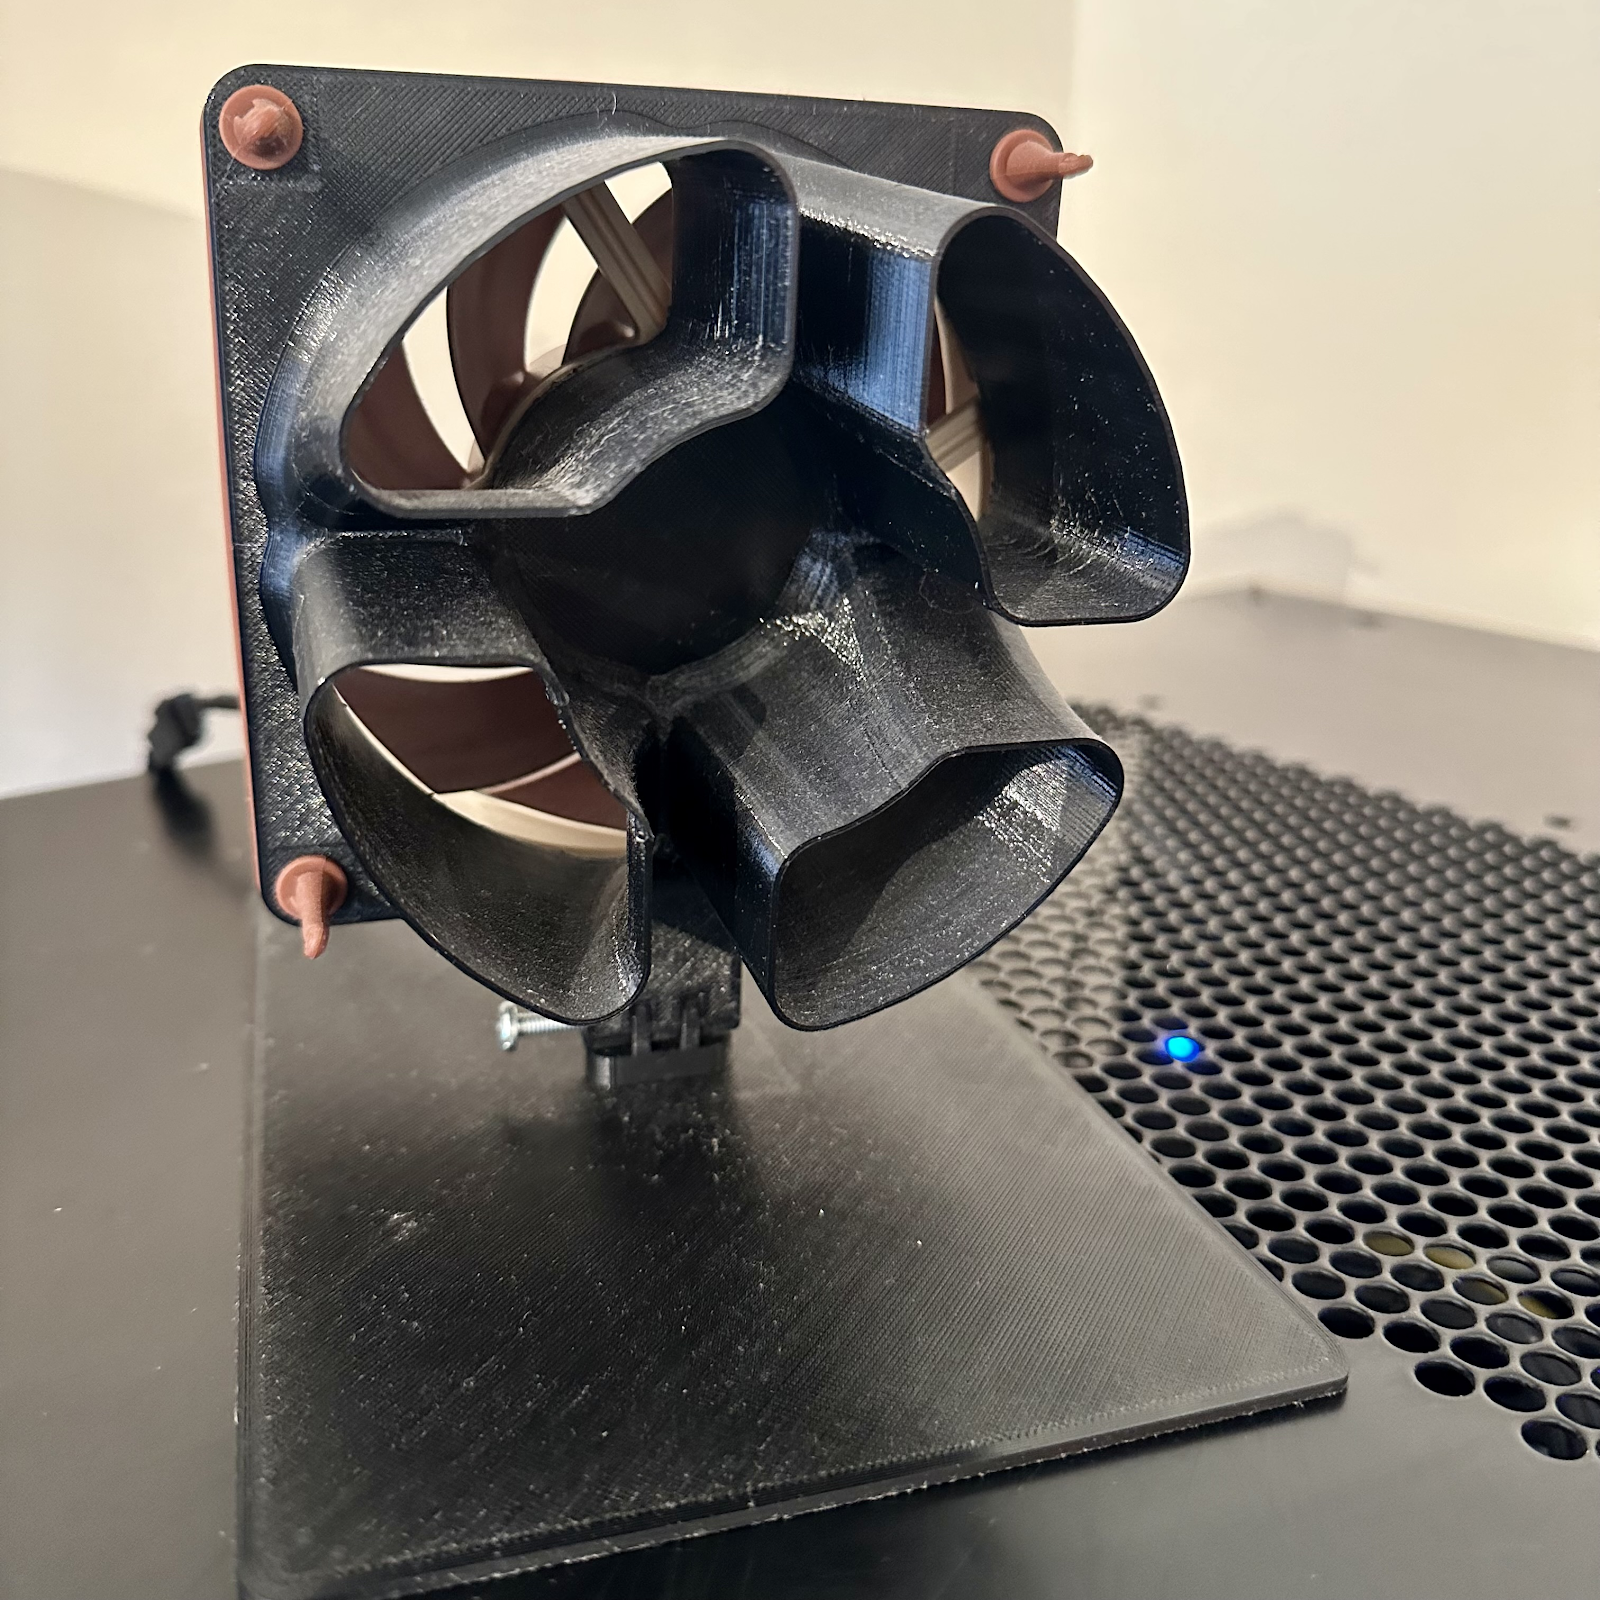
This fan makes for a silent and powerful laminar airflow fan, the 'best fan ever' - yes, I'm looking at you, Dyson! What better for the best fan ever than to have its own API, right? At this point, I might as well since it's trivial extra effort on top of what I've already completed and would give me variable control to dial in just the right strength I wanted.
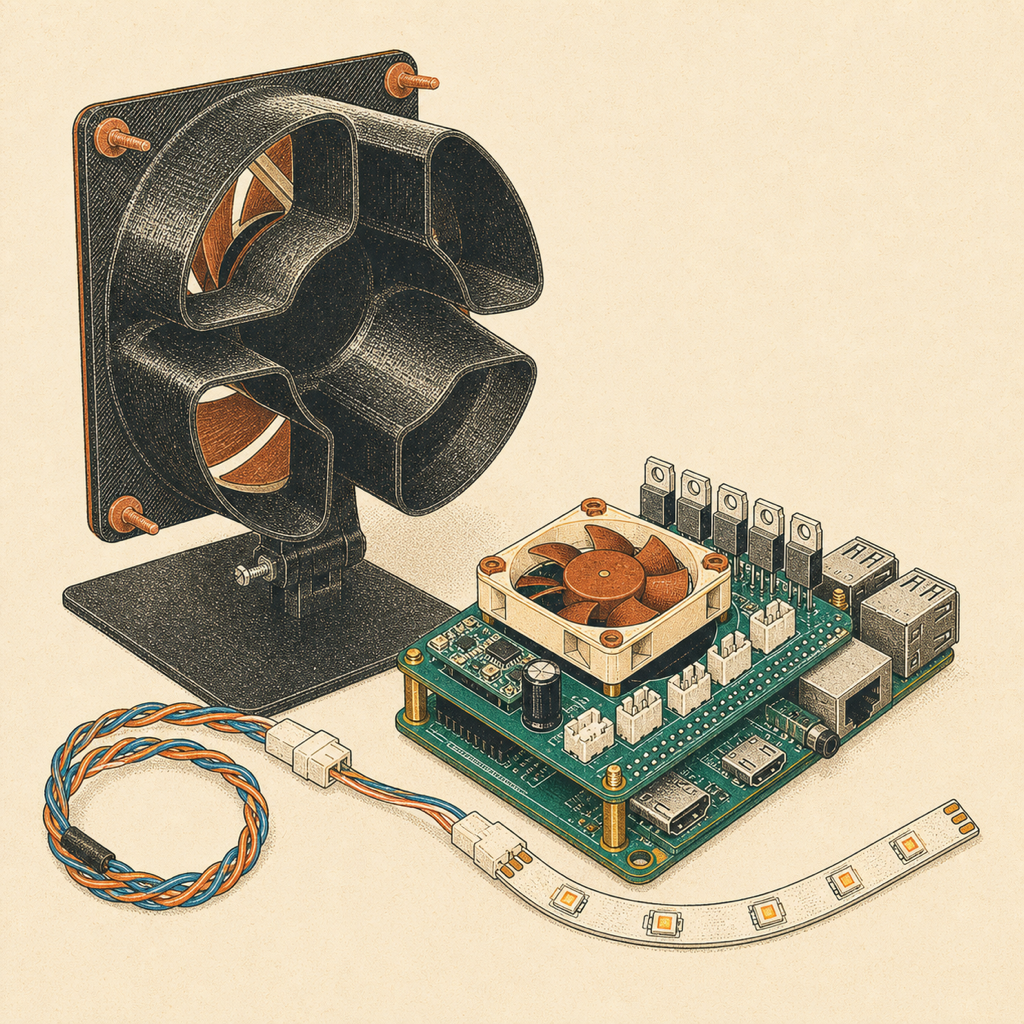
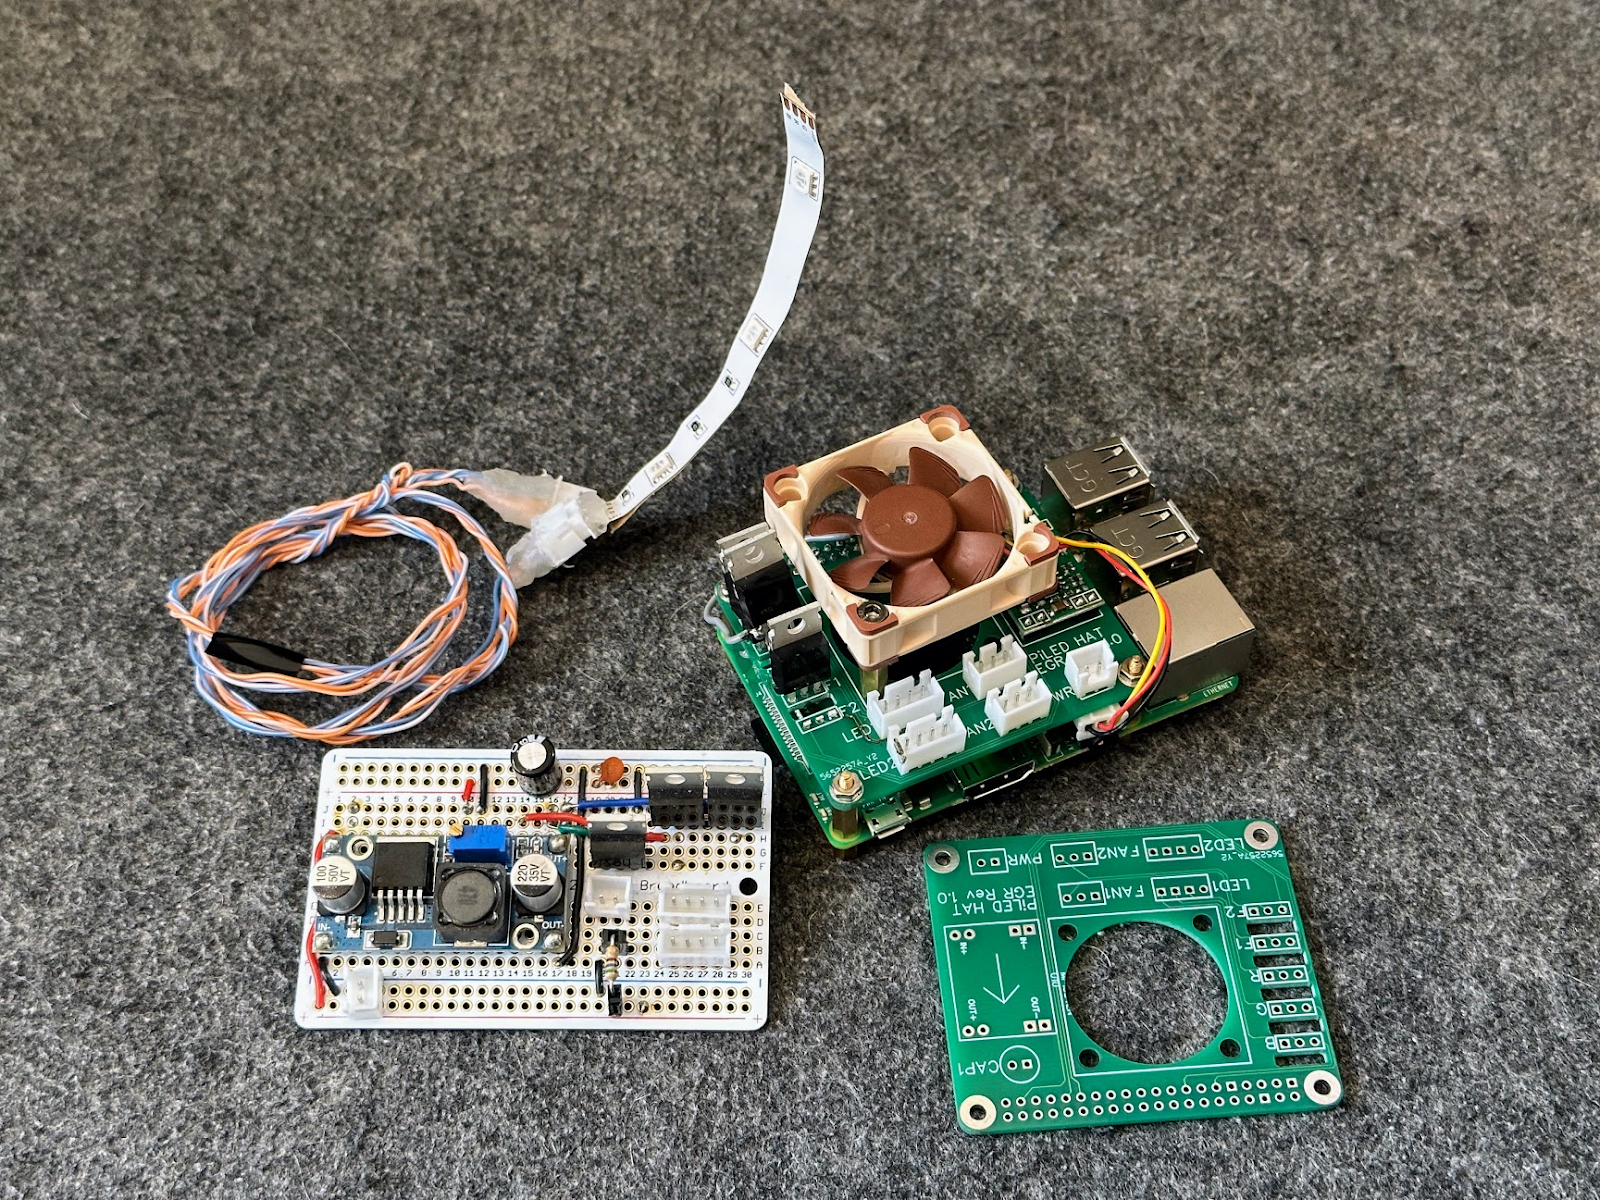
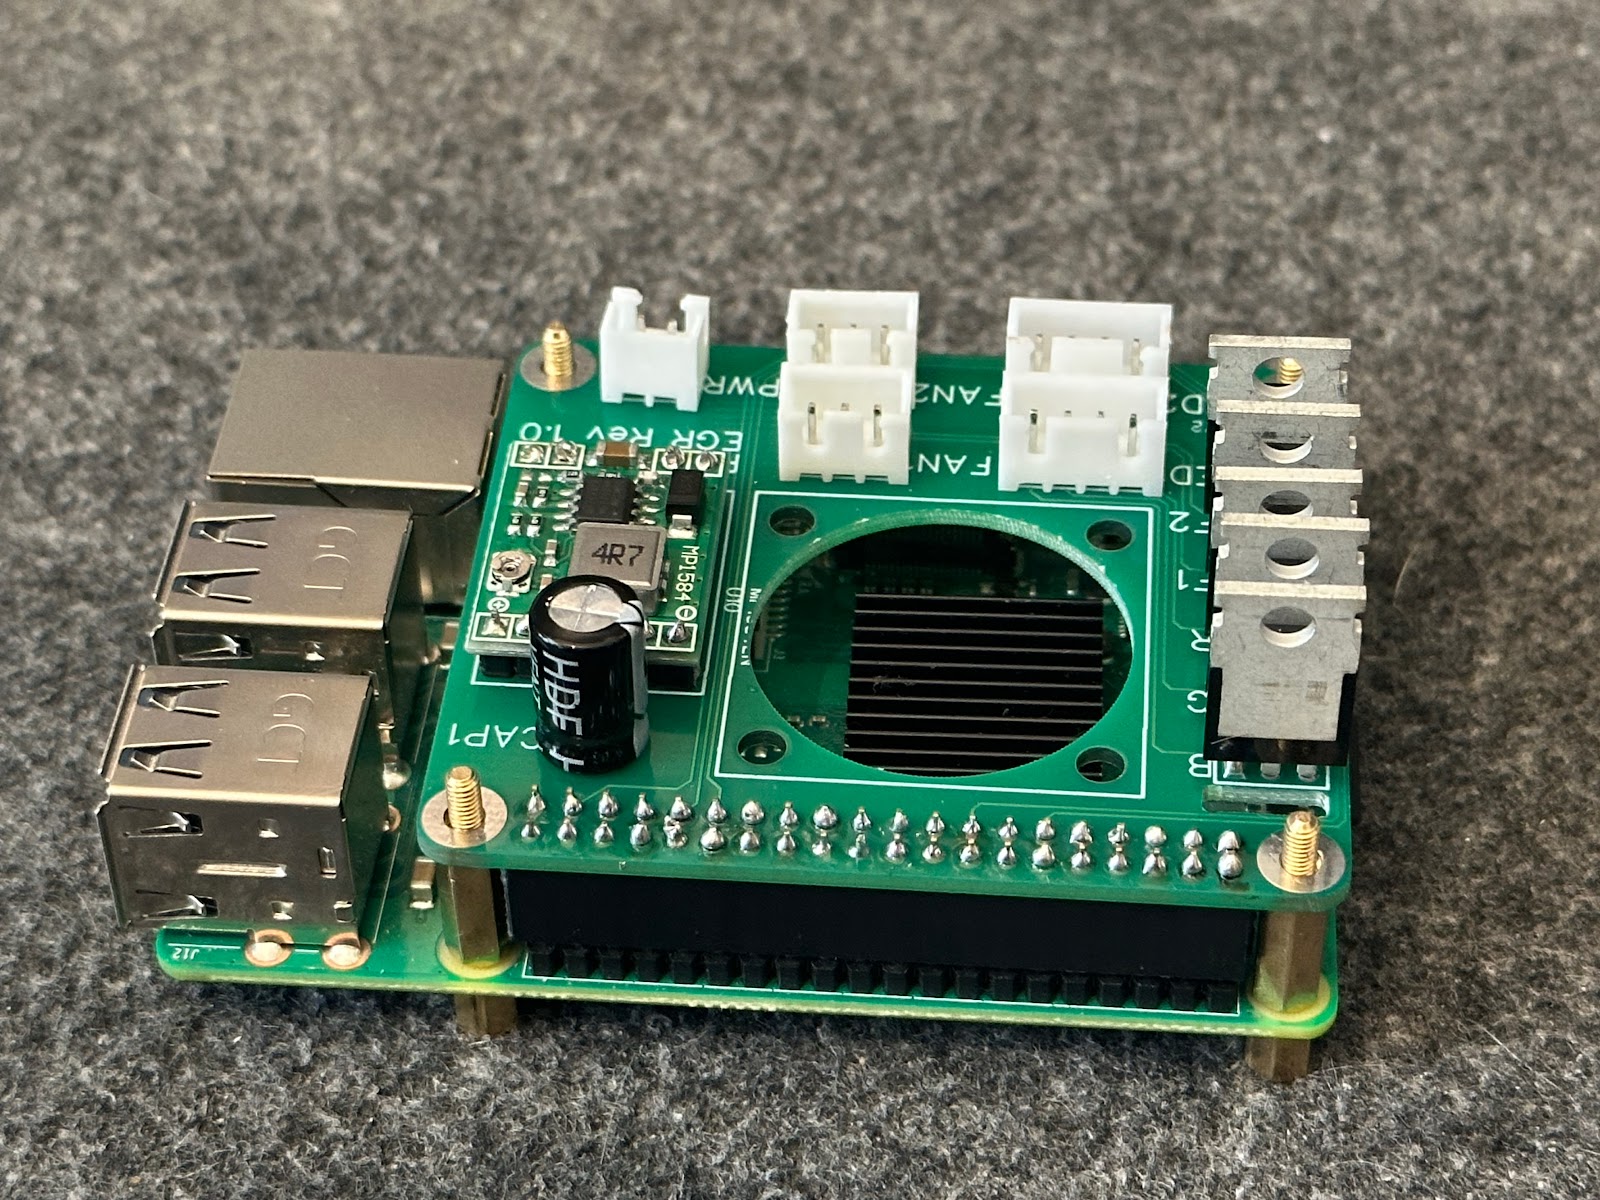
So altogether, I have two additional PWM signals needed for the fans, and I also wasn't happy with the PI cooling fan just kind of hanging out there, not afixed to anything. That's when I decided to go all in. In the past, I have had Chinese fabs create PCBs to my specification, and it's not as complicated as you might imagine. Design your PCB, then send the design files to anyone of a number of Chinese companies, and they'll print you out a real PCB along with thousands of other small batch PCB's and send them in the post. This levels up the reliability of the circuit and will certainly make it neater as all the wires are replaced with traces in the board. It is also possible to shrink the size of the PCB relative to a prototype since you can use SMD - surface mount devices - which are tiny, in place of the larger through-hole components used in breadboards at the expense of needing more expertise and equipment to make it work, although in this case, I'll stick with through-hole components - the same as I have on the perma-proto board as I have plenty of spares to use.
I used an online PCB Design tool called EasyEDA
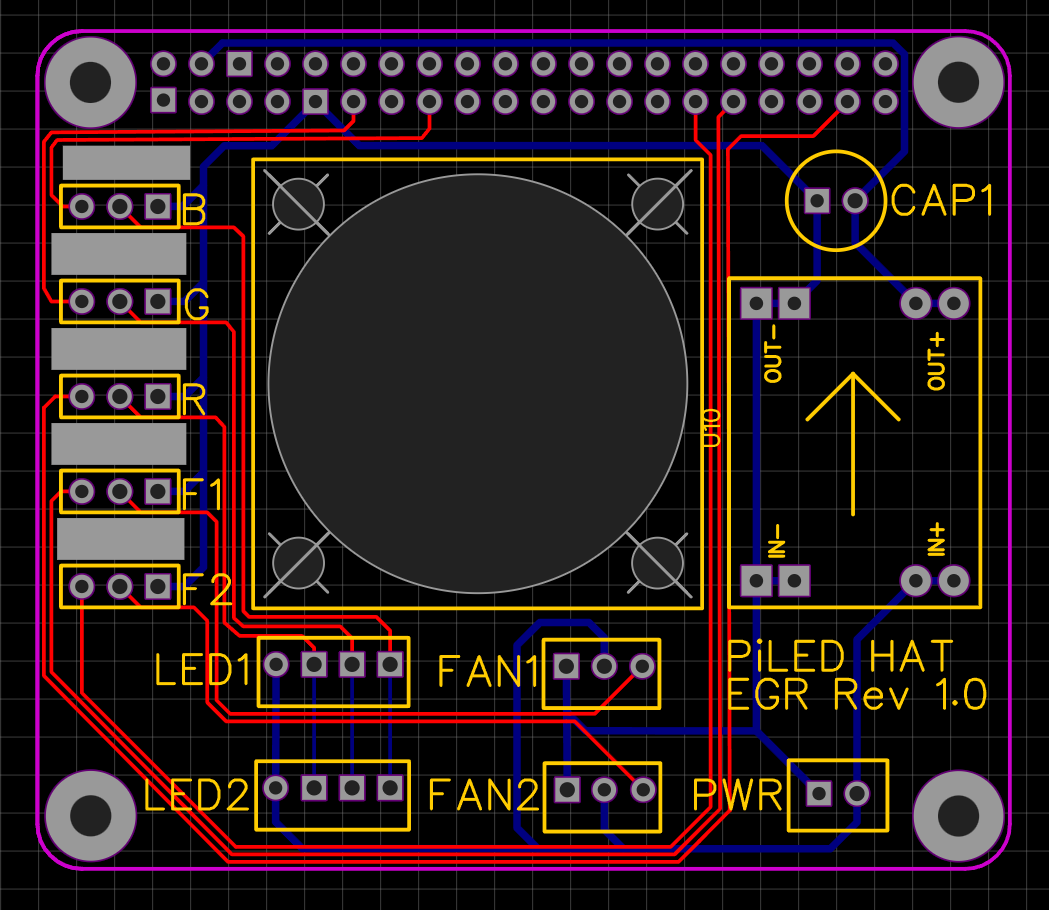
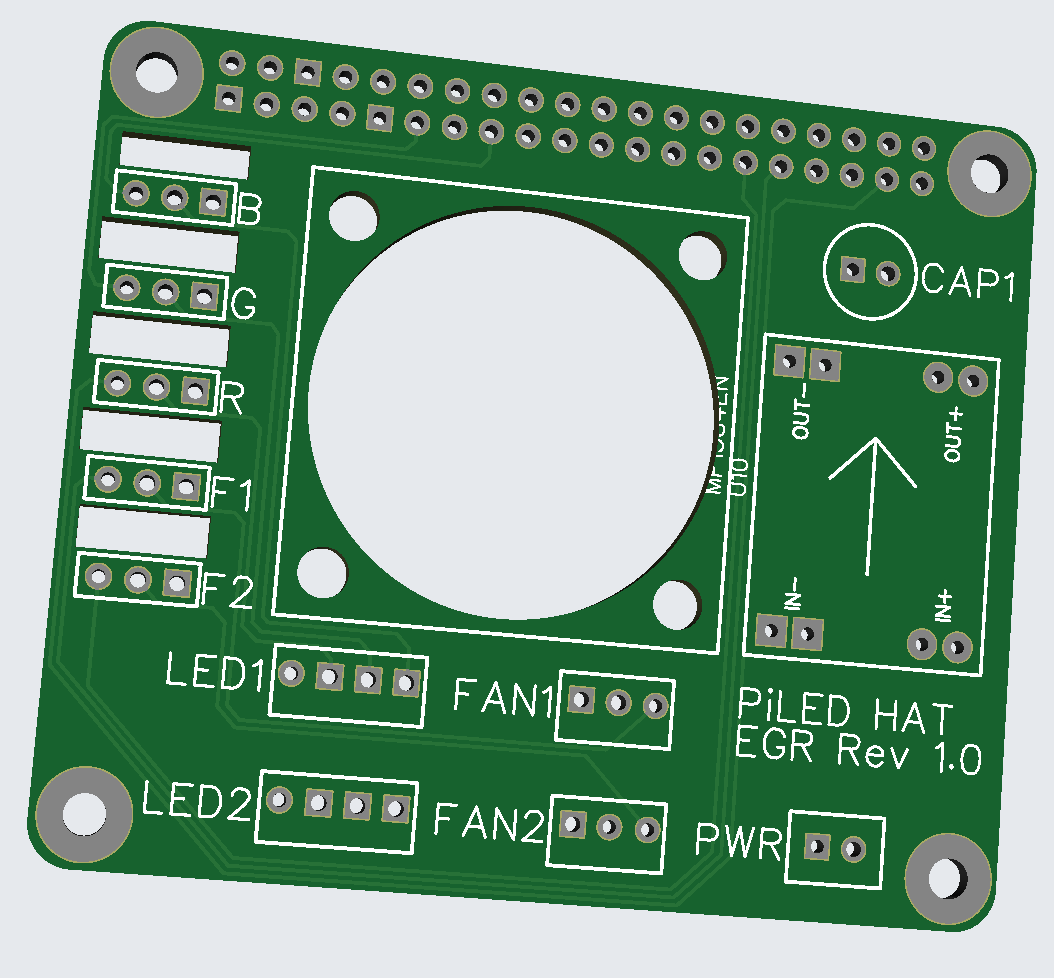
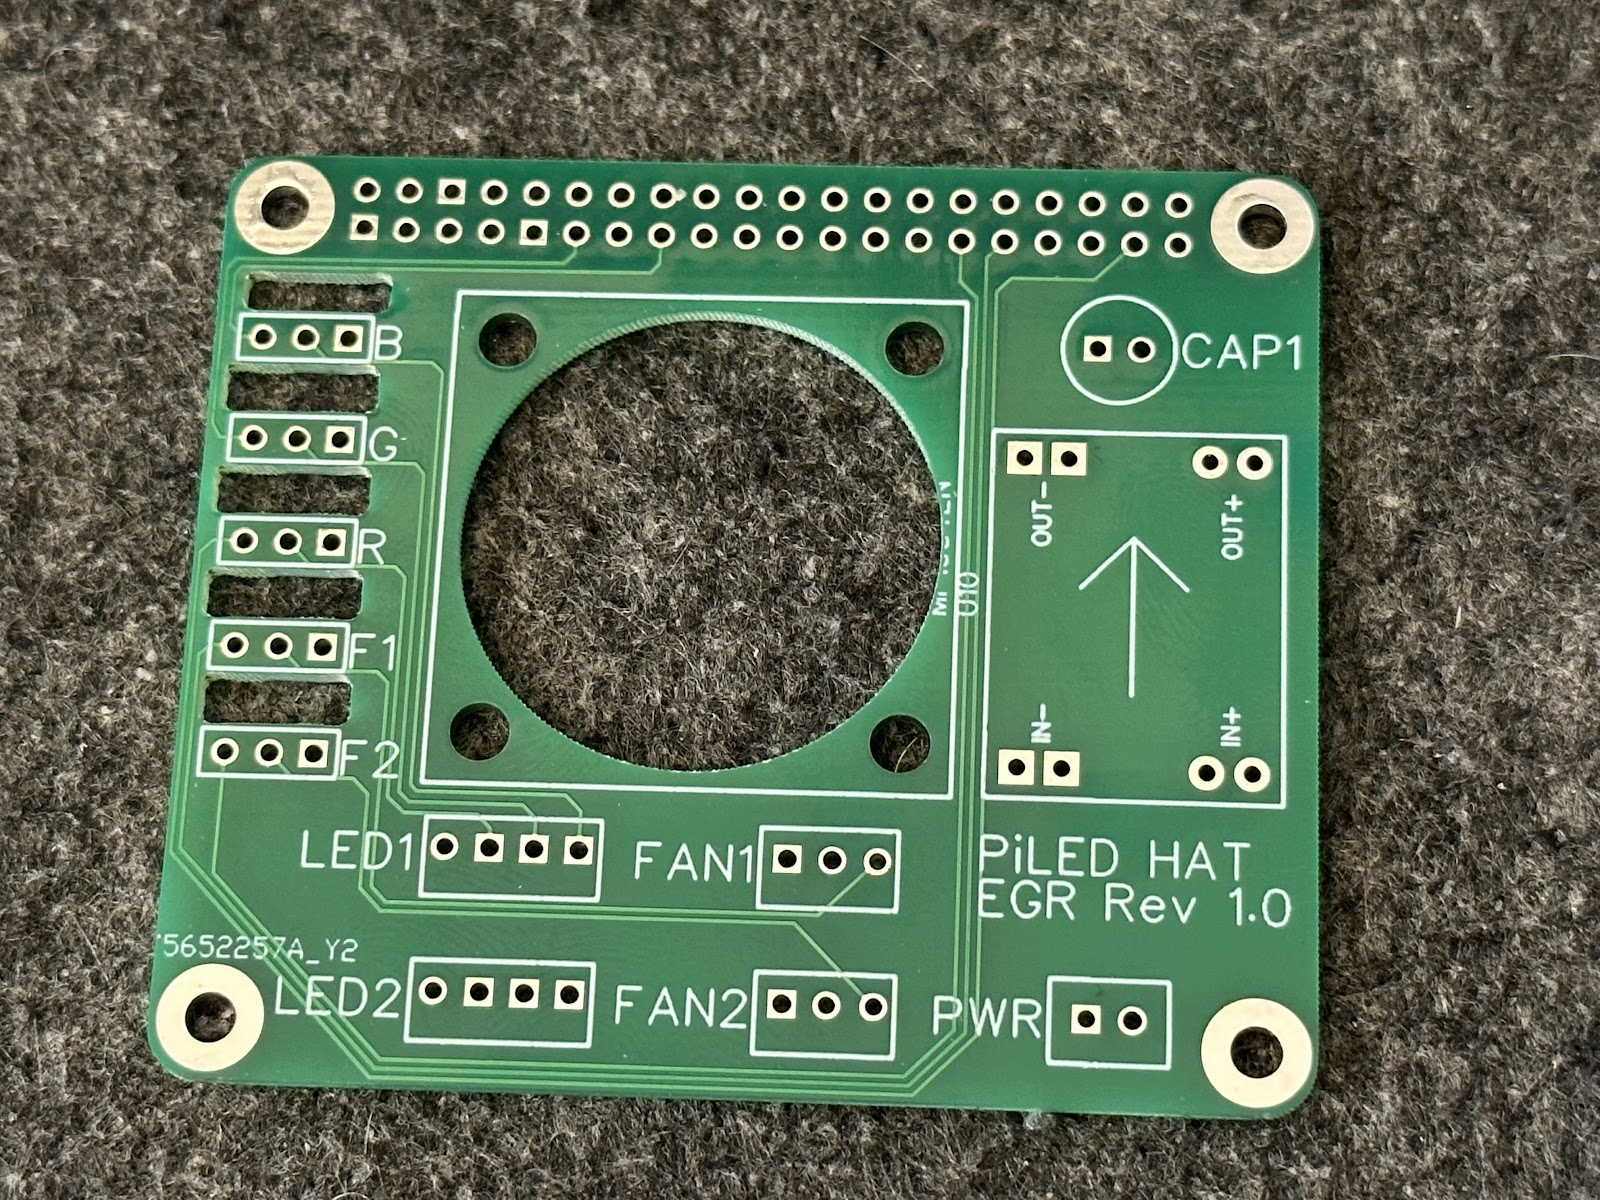
After about a week of following a fedex delivery around the world, I received the manufactured PCB (in fact 5 of them since that's the smallest quantity to order)
The Software Part 2
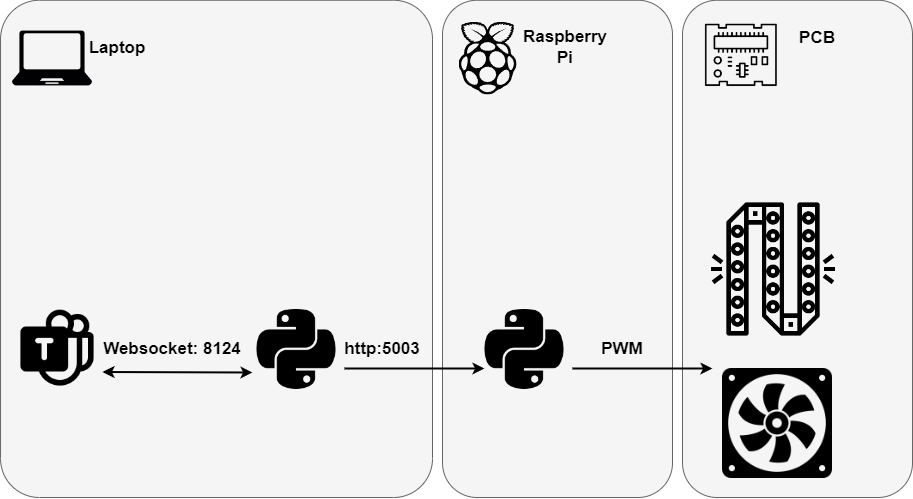
After some coffee drinking and debugging, that actually seems to work great. I can create any colour I like by hitting that endpoint. As I said, though, in Part 1, I want to be linked up to my Microsoft Teams status so I don't have to concern myself with manually setting the appropriate status colour. Microsoft does have a graph API which does allow for querying of teams' status. There are some complications around authentication that are problematic, though, but fortunately for us.....
Microsoft Teams Local API !
The good people at Microsoft read my mind and conveniently announced the release of a local API for teams, precisely what I wanted, and then promptly pulled it 24hrs later due to a security bug!
About a month later, it reappeared, and with a little under-the-hood investigation, it was clear that this takes the form of a simple local WebSocket which relays small JSON objects back and forth.
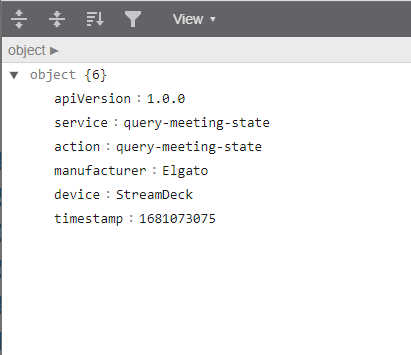
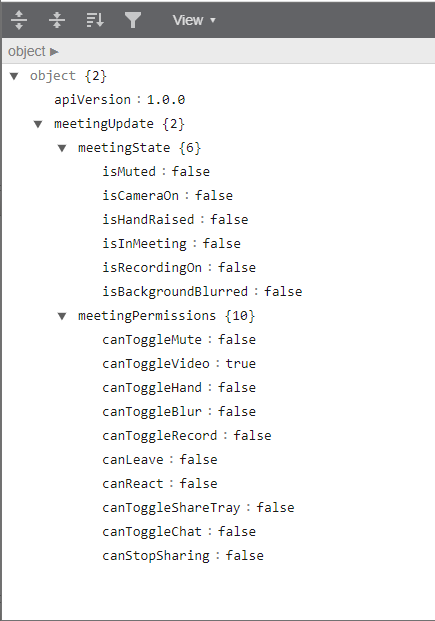
As we can see, it's easy enough to query for the current meeting status, and we can receive responses pushed back to us from teams when our meeting status changes. We just need to establish a connection to the WebSocket, knowing the machine address, the relevant port, and a token issued from the new Teams setting's menu - so teams' knows it's us asking.
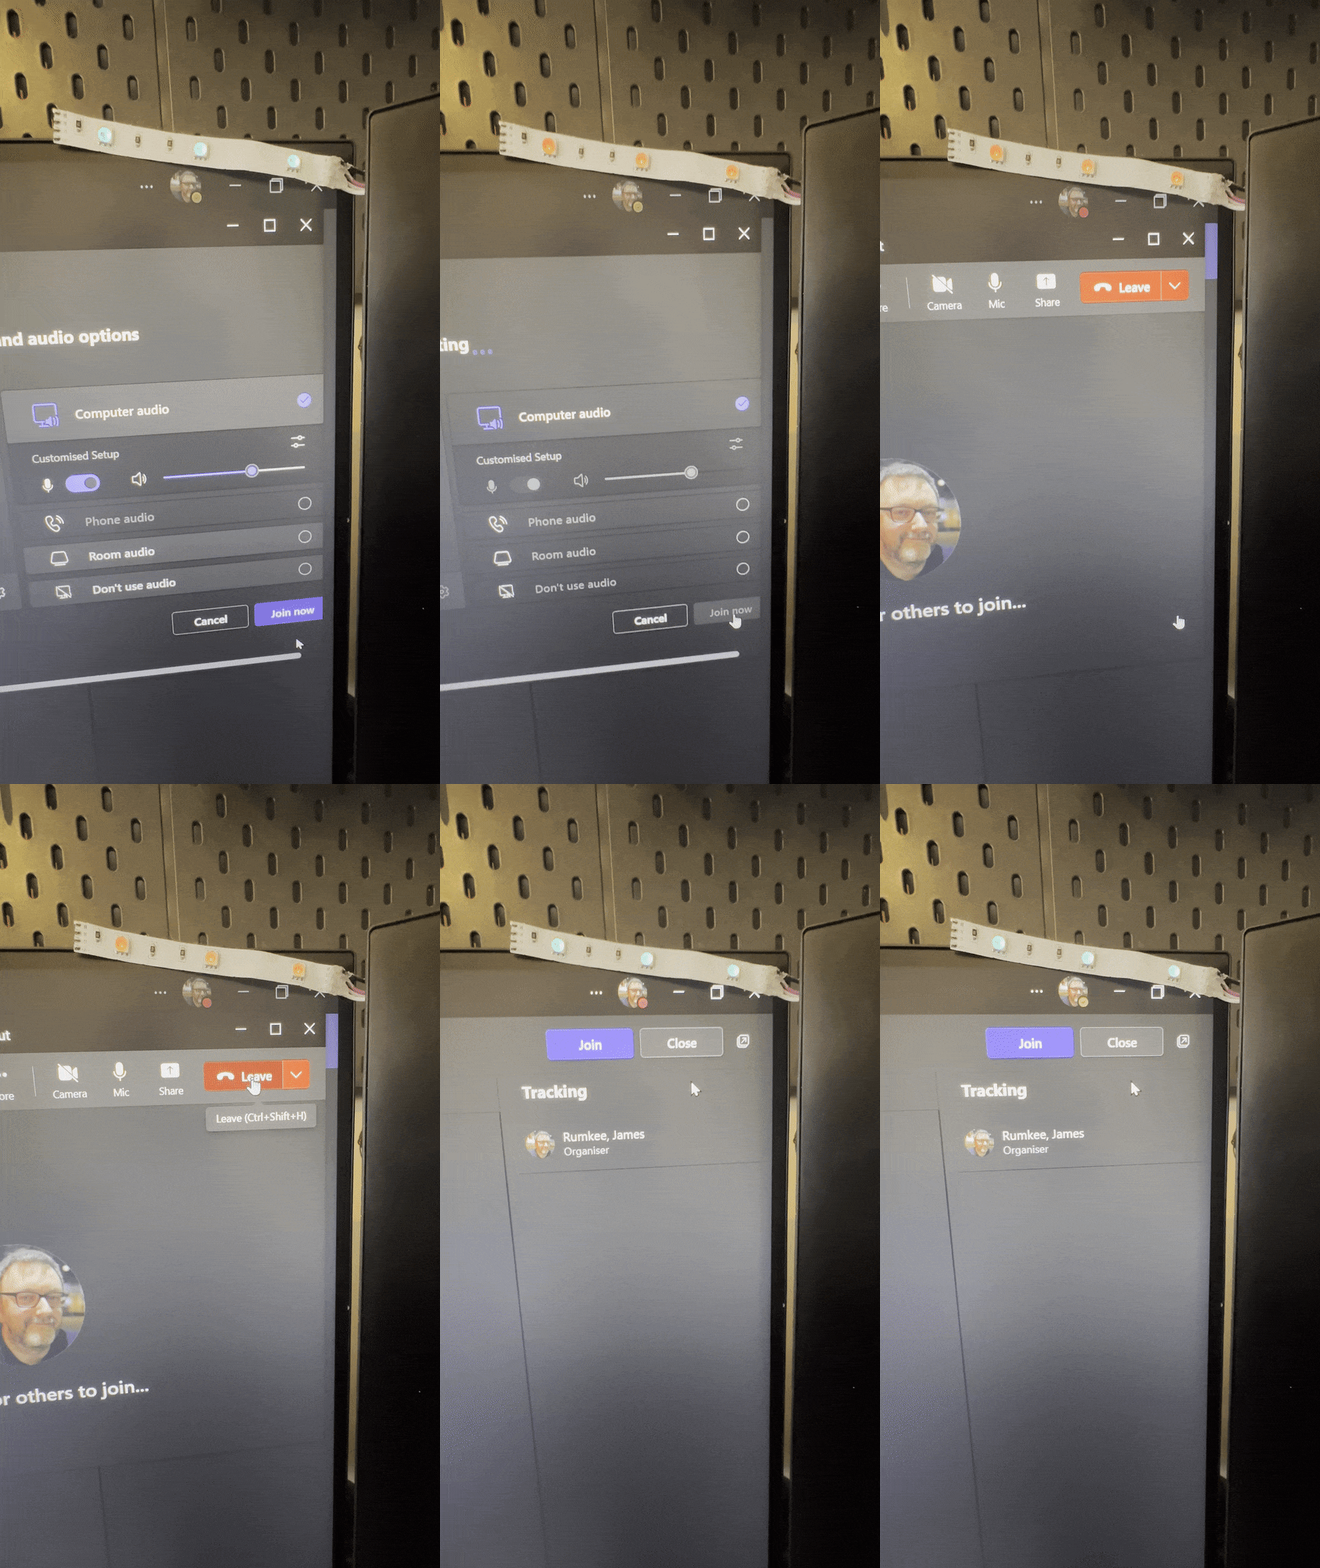
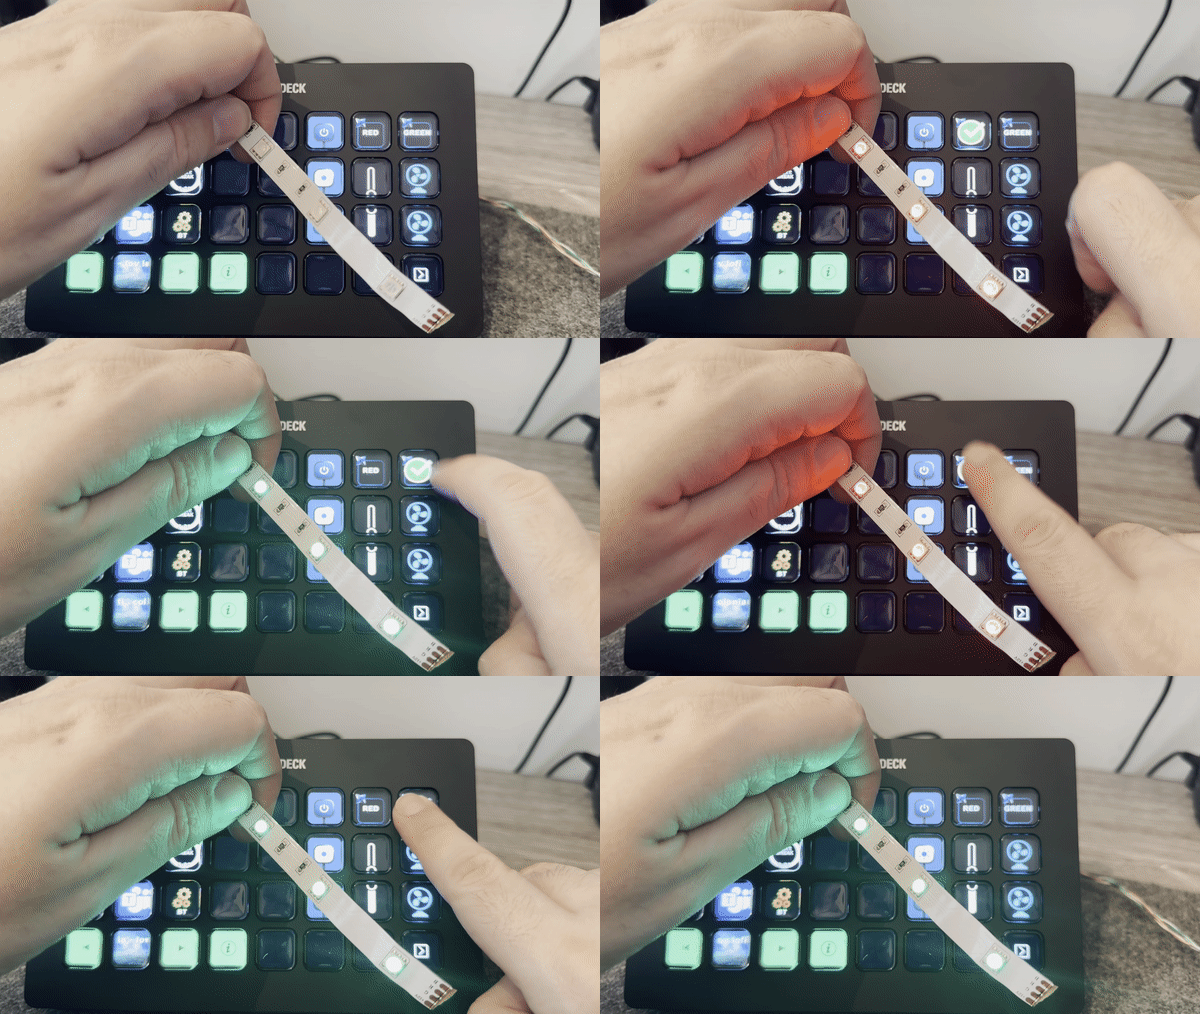
In the short clip above, we can see the LED strip alongside my Teams status. I briefly join a call and then drop off the call. You can see the LED's status changes to red during the meeting and back to green after I leave. In fact, the LEDs update much quicker than Teams itself!
Conclusion
In part 2, we've delved deeper into improving the Tally light system by refining the hardware, adding fan control, and integrating the system with Microsoft Teams. We've covered the process of setting up the Raspberry Pi to control the LEDs and fans remotely, as well as explored the local Microsoft Teams API to synchronize the system with your meeting status. With the combination of hardware improvements and software integration, we've created a even more versatile and powerful Tally light system. As usual you can find both of the Python scripts and the PCB design files on my GitHub page.
But wait, there's more!
If you've seen my other blog Stream Deck: My Secret Productivity Tool you'll know I'm a big fan of the Elgato Stream Deck, which is a macro pad where each button is an actual physical button with an LED screen in it.
This tool is very versatile, and one of the plug-ins for it allows for a button press to be configured to make an API call.
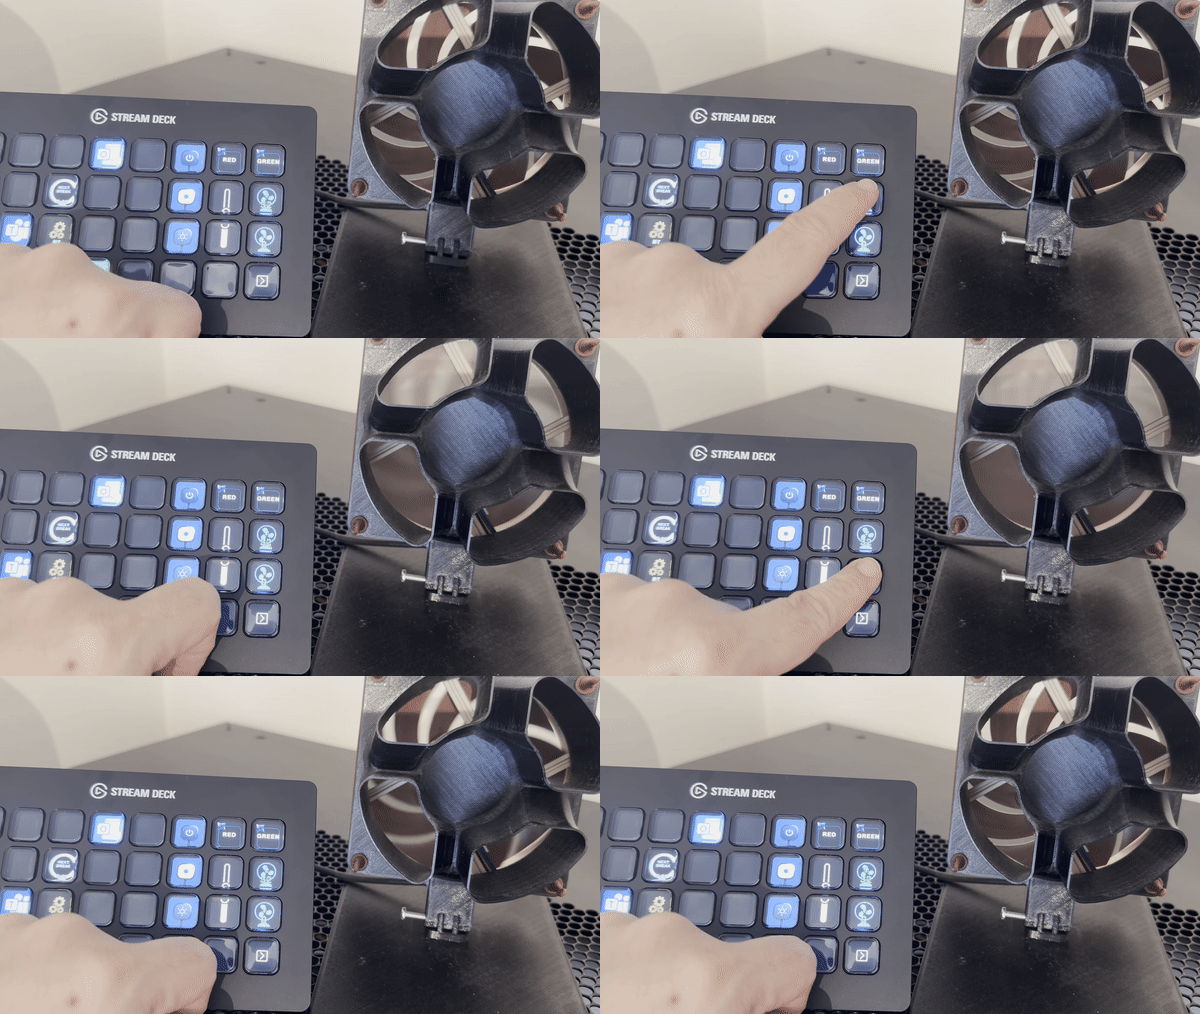
This gives the potential to have a manual override for the LED lights and to control the fan from this one device!
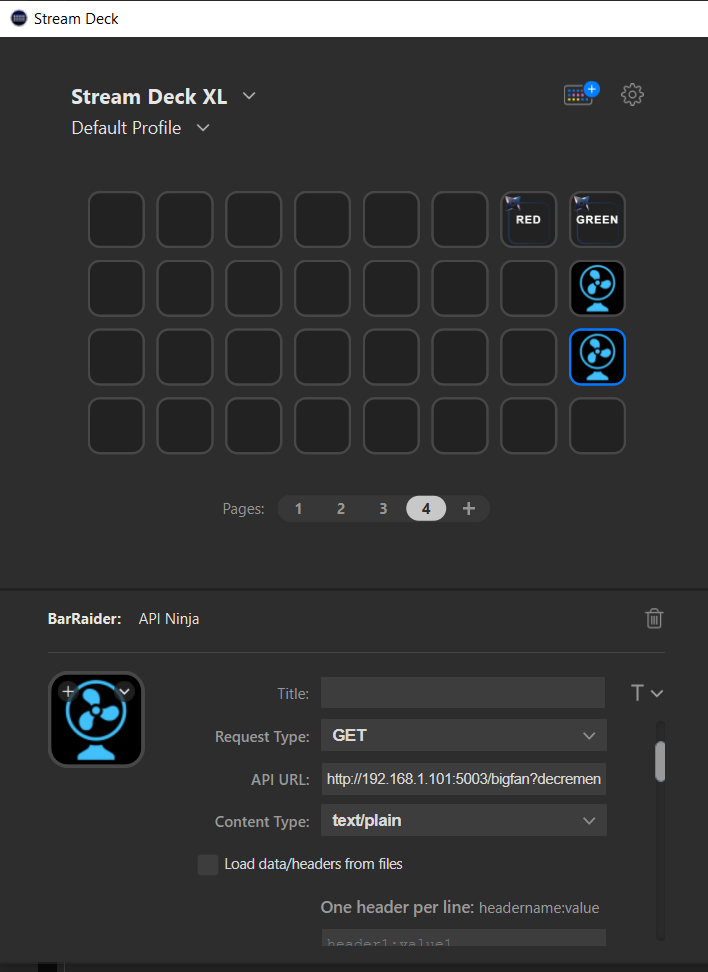
Above, we can see the stream deck configuration application with 4 configured buttons, and we can see the lower button with the fan icon is set to make a GET to
http://192.168.1.101:5003/bigfan?decrement=32
The fan icon above it is set to make the same call with the parameter ?increment=32. This way each button press steps us or down the fan speed in 1/8th increments.
The red and green buttons make a call to the same API endpoint shown in part 1, so force the LED's to a specific colour.